 Image 1 of 1


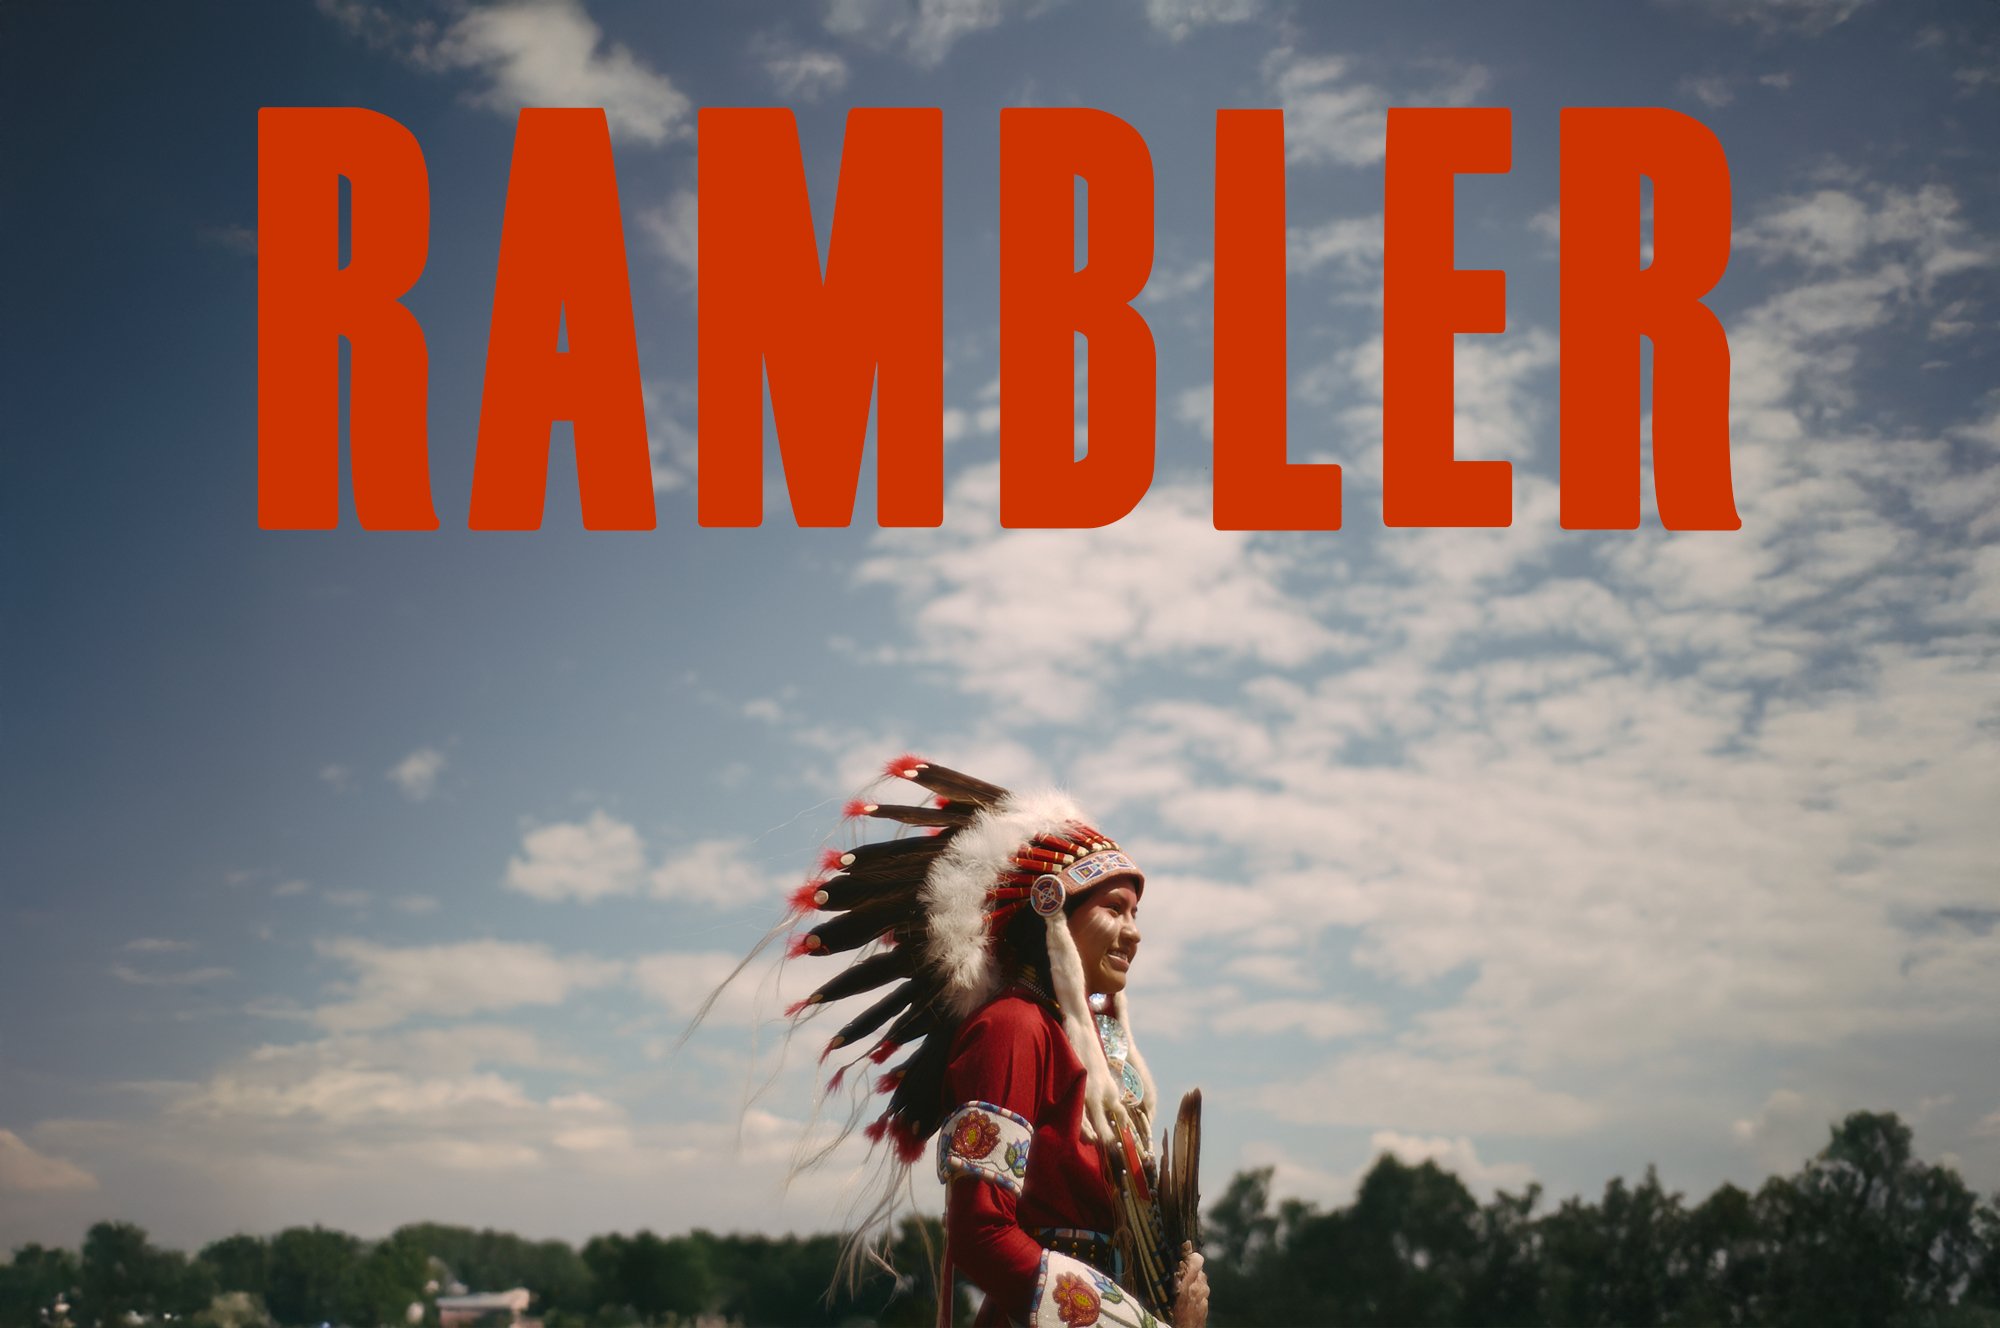
Rambler Capture One Film Presets
After many years of shooting film and digital, I made these new Film Emulation presets that give a similar thickness of color that I get from my film photos.
I utilized a couple new tricks that I developed in Capture One that help give a satin thickness to the photos. From here, you can just apple your own grade via the Color Wheels and create your own look on top of the presets.
All you have to do is adjust your white balance and exposure. When setting the white balance, I always focus on the skin tones!
The Looks
I DUSTY: This was the original look that I created, where the magic sauce was found. It’ll give you a really flat look, so I usually use the Levels tool to adjust my white and black point and also use the contrast slider sometimes as well.
II DUSTY +: Same look but I take it up a notch and also apply a stronger color grade in the Color Wheels
III SADDLE: This has as similar thickness to DUSTY expect I keep the contrast more natural and punchy.
IV SADDLE +: Same thing except I really push the color grade. You’ll want to adjust your WB on this one for sure.
V SADDLE -: This is based on IV SADDLE but I take it the opposite direction!
VI LINDBERGH: This is a new one for me. I based this off my black and white workflow that usually is only possible in Photoshop. But I went through and tried to match it as close as I could within Capture one!
VII LINDBERGH +: Same story except I push it even further!


